Friday, June 5, 2015

NWP Maintenance of Way Vehicles

This week, I spent time working on two of the maintenance of way vehicles that will serve my Northwestern Pacific model railroad.  I purchased an HO scale Ford F-350 Crew Cab Pick-up from Trident Miniatures (Part #90078) and a 1993 Ford Explorer from Atlas (Part #30 000 072).  Both of these vehicles were painted white and came undecorated.


The Ford F-350 came with additional detail parts that I had to apply on my own.  It also came with a detailed interior.  Because of this, I felt that placing a figure seated inside would be a nice touch.  I found an HO scale figure that was in a sitting position.  I repainted the figure so he was wearing blue jeans, an orange safety-type jacket and a yellow hardhat.  I did have to cut off the legs at the figure's knees so that I could get him into the driver seat and underneath the steering wheel.  I also had to file down a small portion of the top of the figure's head so that everything would fit properly.  Another detail I added to the F-350 was a simulated amber flasher on the cab roof.


The Ford Explorer comes assembled in the package.  The exterior details of the vehicle are painted as well.  It even comes with a simulated amber flasher on the roof as well.

The final touch that I added to both vehicles were the NWP railroad herald on both front doors.  I used the older set of decals from Microscale "Northwestern Pacific Diesels (1996 - 1998).  I specifically went with the N Scale set (Part #60-4188) because I felt the HO scale decals would be too large for the vehicle doors.

 
Be aware that this decal set is no longer available from Microscale.  They have recently re-done their decals for the Northwestern Pacific Railroad so #60-4188 is no longer available from Microscale directly.  However, I purchased three sets on e-Bay for a relatively good price.  There are probably some hobby shops out there on the internet as well that may still be selling this decal set.

The third set of decals is already reserved for when I get a Bachmann HI Rail Equipment Truck with Crane.  Of course I will be ordering the all white undecorated version so that I can put the decals on the vehicle doors just like I did for the two Ford vehicles described in this post.

Hey, Father's Day is coming! My wife should be asking me for a wish list pretty soon.

Sunday, April 19, 2015

Progress Continues on NWP #5305

Surprise - I have started to work on NWP #5305 once again!  This morning, I added some super detail parts to the front of the chop-nose SD9.  I added the ditch light housing fixtures and MU hoses (3-cluster set) to the front of the pilot.  I also drilled two holes in the nose for the classification lights.  Finally, I glued the base of the "Western Cullen" rotary beacon to the roof of the cab.  I will be painting these features soon and then I will add the handrails and the red base stripe to the unit.

Sunday, April 22, 2012

Number Boards for #5305

Well, progress continues on NWP SD9 #5305. Today, I put the number boards on #5305. I used a system I recently learned about from an internet site. This system was created by John Sing.

Easy N Scale Locomotive Number Boards

Basically, I made a Microsoft Excel spreadsheet where I typed in "5305" seveal times in three different font sizes (#6 / #7 / #8). I used Century Font as this font resembles the Southern Pacific (NWP) number lettering style. I blacked out the background of the cells using "black" and changed the font color to "white." I then printed the spreadsheet on printing lable sheets from Avery. I went out to the garage where I have been working on my HO scale model of #5305. I took the clear plastic number boards and compared them to the three font sizes I printed out. Of the three, Font Size #7 appeared to work the best. I carefuly cut the number boards from the sheet using an Xacto knife. I then peeled the baking tape off the rear of the label and then stuck the number board to the clear plastic.

I was very surprised how easy this method of doing number boards was. I do not like having to paint the clear plastic and then using decals, especially on locomotivs that require individual numbers to be placed on one at a time. The Microscale NWP deal set allows you to place all four numbrs on at the same time, but this system appeared to go a lot quicker.

Surprisingly, the shipping label system still allows light to shine through the number boards. This is a plus because I plan to have operational directional lighting on my SD-9's. I will most likely continue to use this method for the number boards on my other NWP Athearn blue box SD-9 kits.

Saturday, April 21, 2012

NWP SD9 #4327 Goes to the Shops

As progress continues on NWP SD9 #5305, I have begun work on NWP SD9 #4327. Once again, I am using an older Atearn blue box kit as he basis for this model. I recently applied several white-metal detail parts from Detail Associates and Details West. SD9's #5305 and #4327 are only two of four SD9's that I intened to model for my HO scale "Redwood Empire Route" model railroad I am building in my garage. I have aleady posted some photographs of how #5305 is turning out. Here I have included some photographs on the beginning stages of #4327. The next thing to do on #4327 is to paint it and apply the Microscale NWP decal set.

Thursday, April 19, 2012

Progress on NWP #5305 (Chop-Nose SD9)


Well, after a long break from working on this model railroad, I recenty became motivated in working on it again. I have been working on some older blue box Athearn SD9 locomotive kits. Last weekend, I painted my NWP #5305 black. This week, I have been applying the deals from Miroscale's NWP decal set. Here are some pictures of my progress.


Sunday, September 4, 2011

Labor Day Weekend Progress

Well, I was not able to patch over the screw holes in the backdrop or paint it a coat of Sky Blue paint this weekend.

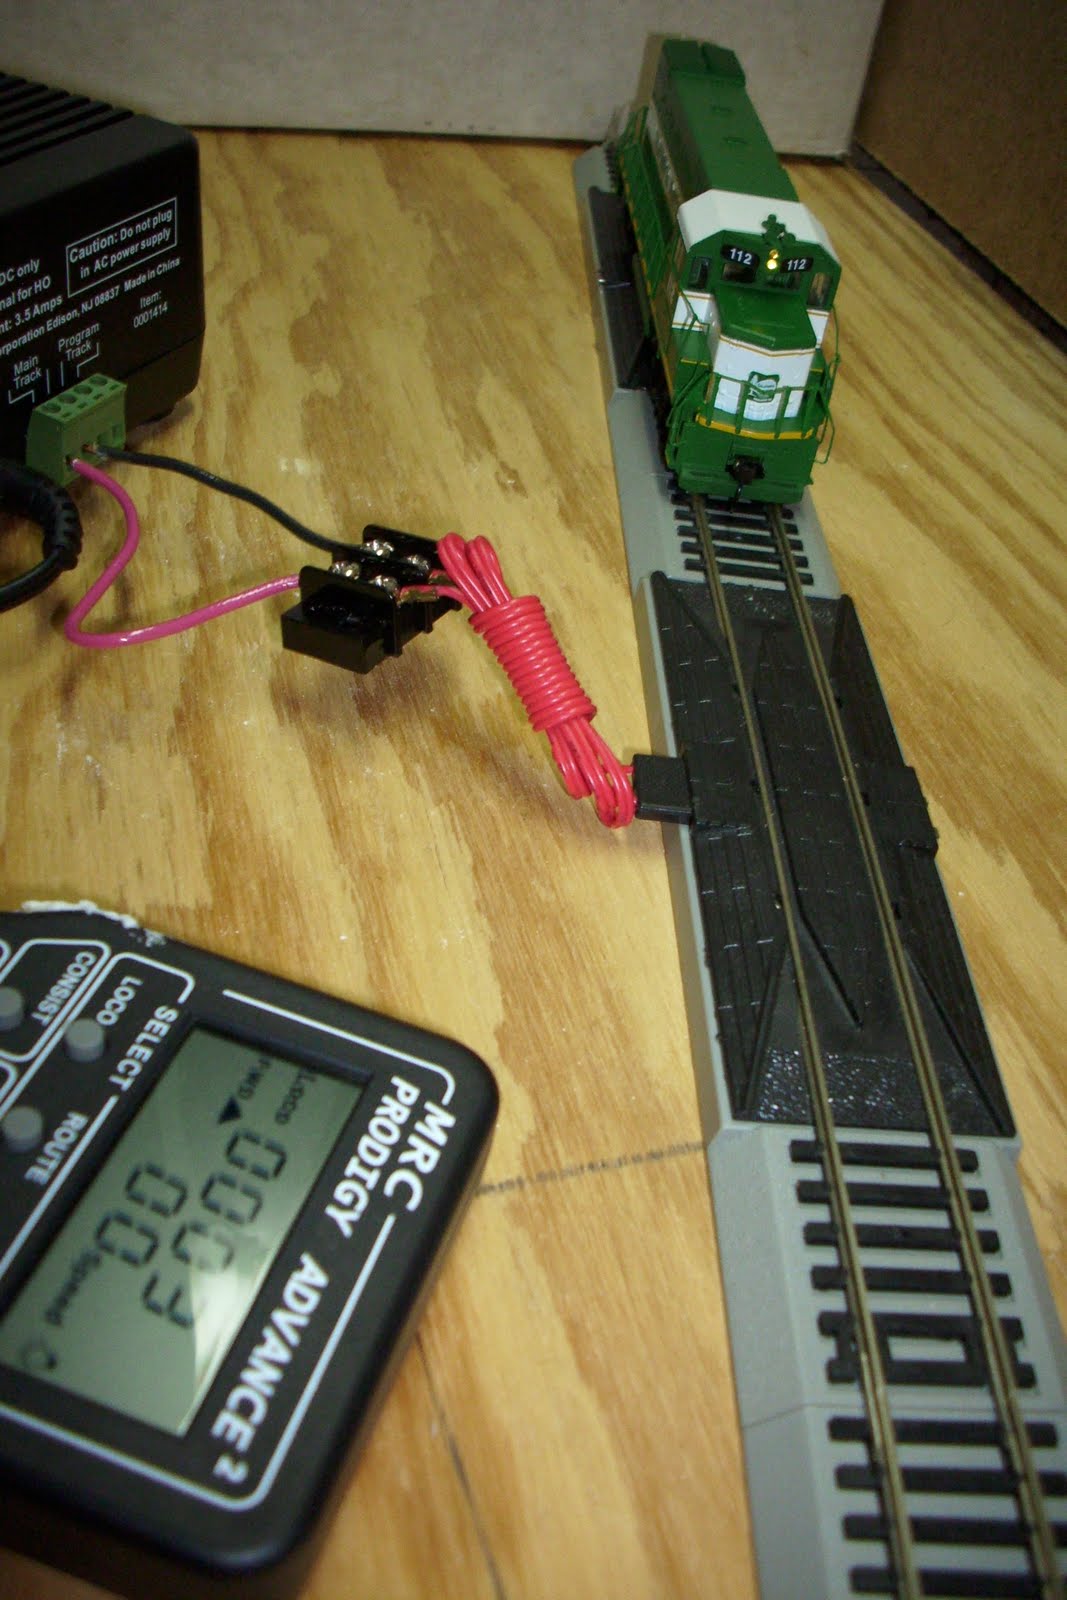
However, I did get to install an MRC sound decoder in my Walthers Proto 1000 California Northern EMD GP15-1 (CFNR #112). The installation took less than an hour and I did not run into any problems. I made sure that the locomotive ran on DC before I installed the decoder. After the installation, I ran it on a DCC test track. The locomotive ran great and the GP15-1 sounds really cool as well!

In the attached photo, you will notice that the decoder is still associated with the default address of 03. I ran the locomotive on the test track making sure all of the features worked correctly. Once I knew the decoder was working, I programed it to the cab number of #112.

My next decoder installation project will be for my Atheran Blue Box SD 9 kit. I still need to order some parts for the project. However, I have taken the shell off the locomotive and taken apart the motor in preparation for this project. I hope to convert this model to DCC within the next few weeks.


Saturday, September 3, 2011

Benchwork for the Lower Tier Completed!

A few weeks ago, I completed the construction of the lower tier of my "Redwood Empire Route" - NWP HO scale layout. The layout takes up about half of my two-car garage. I have even installed the Masonite backdrop material for the lower tier. The next step is for me to fill in the screw holes and paint it a Sky Blue paint. Once this is done, I will be able to start laying some of the subroadbed material and Atlas Code 83 flex track. Be sure to check out some of the other pages of this blog to see some pictures of the benchwork and backdrop being installed.